![]()
There are many benefits to Chrome OS – speed, simplicity and affordability are just a few of them. Does this mean the Chromebook is ready to take over big guys like Windows and OS X, though? To some it might, but truth is most of us need a full, native operating system with more programs and less internet dependancy.
Ubuntu on a Chromebook
Now, this doesn’t exactly mean you need to have a second computer or opt for a completely different operating system. With Chromebooks, you can have your cake and eat it too. If you want to stick with your Chromebook, the best solution would be to install Ubuntu on your Chromebook.

There are two ways to do this: using Crouton or ChrUbuntu.
In this tutorial I will show you how to use Crouton, simply because it’s much more user-friendly and simple. In addition, it allows you to run Chrome OS and Ubuntu at the same time. You can switch between them easily, whereas ChrUbuntu forces you to reboot before switching operating systems.
Ubuntu may still sound very intimidating to some of you. After all, isn’t it an operating system for coders? This is not entirely true. Like any other OS, it has a learning curve. It is way different from Windows or OS X, but this doesn’t mean it’s out of this world.
A lot of people use Ubuntu knowing little to no coding. You can certainly use it as a consumer. If you are in for the adventure, read on.
Disclaimer
We are about to go into the tutorial, so I must remind you that this procedure (though relatively safe) still has its risks. You will be enabling Developer Mode and that brings some dangers. Please do keep in mind that anything that may happen to your computer is solely your responsibility.
How to install Ubuntu on a Chromebook using Crouton
With all that said, let’s jump into how you can install Ubuntu on your Chromebook. Don’t get too scared. It is actually a pretty simple procedure and it’s easy to revert back. I put together the video above for you, just in case you get stuck. Here we go!
Step 1: create a Chrome OS factory image
So this part is not completely necessary, but it’s better to be safe than sorry. Things can always go wrong before playing around in Developer Mode, so I always make sure I have a Chrome OS factory image so I can restore my Chromebook if anything goes wrong.
You can find the instructions to do this by going to Google’s Chromebook recovery tutorial.
Step 2: enable Developer Mode
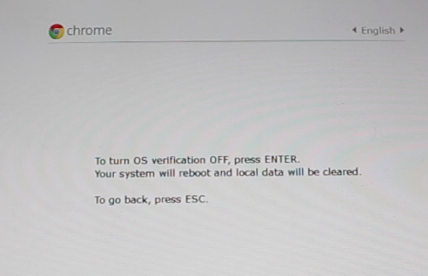 Most Chromebooks have a slightly different way to enable Developer Mode. For some it’s a physical switch! Regardless, you can find out how to enable Developer Mode on your own computer by consulting Chromium.org, which has a site dedicated to such action.
After you enable Developer Mode, the computer will do its thing for a while and reboot into Chrome OS. This process does delete all your local files, so make sure to back up any important files you may have.
After all is said and done, Chrome OS will reboot and you will be presented with a screen displaying a red exclamation mark, telling you OS verification is off. You can wait 30 seconds and the screen will disappear, or you can press “Control + D” to skip it.
If you press “Space”, the computer will get off Developer Mode and everything will be cleaned again.
Step 3: download Crouton
The rest of the process is very simple. Crouton pretty much does all the work for you!
After you have downloaded this file, make sure it is placed in the Downloads folder in your Chromebook.
Step 4: install Ubuntu
- Start the terminal on your Chromebook (Cntrl + Alt + T).
- Type “Shell” and press Enter.
- Type in the code (check below) that will trigger the installation. After that, you are done!
You can choose to install two versions of Ubuntu: Unity and Xfce. The biggest differences are mostly aesthetics, but Xfce does support newer versions of Ubuntu. Unity only supports Ubuntu 12.04, while Xfce runs version 13.10. Here are the codes:
Ubuntu with Unity:
sudo sh -e ~/Downloads/crouton -r precise -t unity -e
Ubuntu with Xfce:
sudo sh -e ~/Downloads/crouton -r saucy -t xfce -e
Start Ubuntu
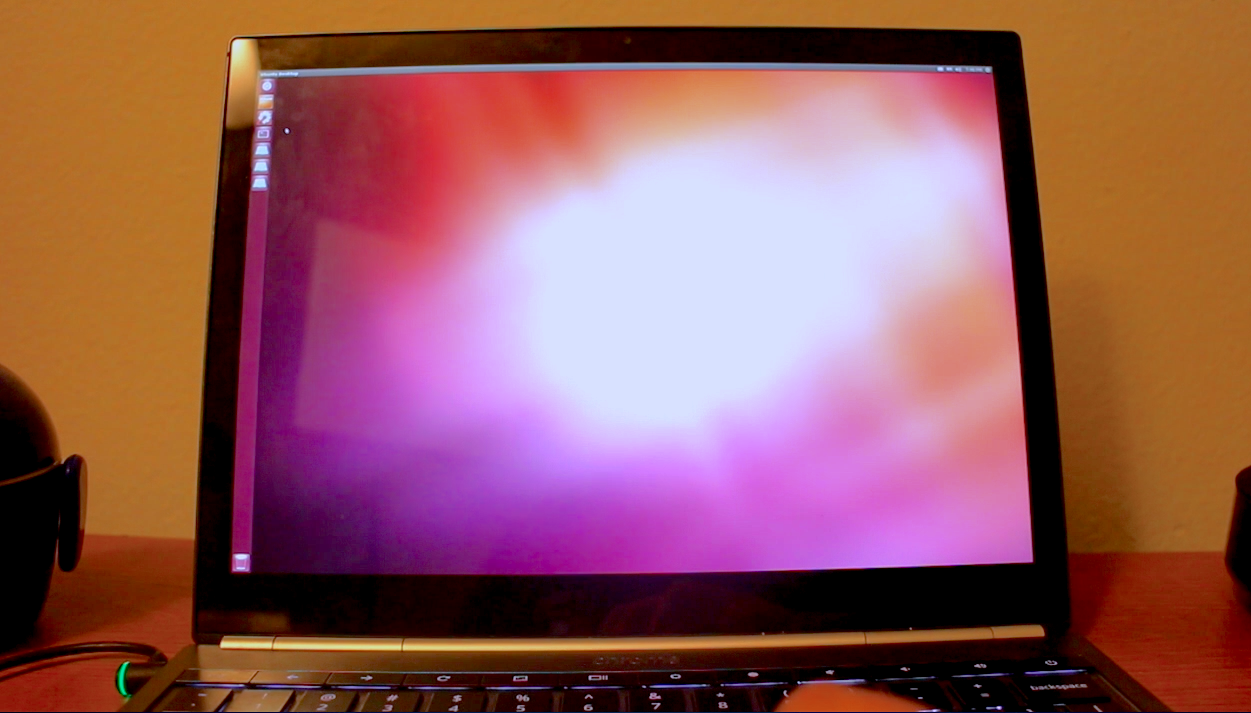 The installation will take a long time, but once it’s done you are set to go. The terminal will just ask you for a username and password. After all is said and done, all you have to do is start Ubuntu.
You can do this by accessing the terminal (Cntrl + Alt + T). Type “Shell” and press “Enter” again. Depending on which version of Ubuntu you installed, you will have to type in one of the following codes.
sudo startunity
or
sudo startxfce4
How to switch between Chrome OS and Ubuntu
Remember you are running both operating systems at once. This allows the user to switch back and forth at will! You can do this by pressing the following key configurations.
Access Chrome OS:
Ctrl + Alt + Shift + Back
Access Ubuntu:
Ctrl + Alt + Shift + Forward
x86-based Chromebooks:
Same configurations, but don’t use Shift. In addition, you will have to press an extra key configuration for accessing Ubuntu. After Cntrl + Alt + Forward, press Control + Alt + Refresh.
How to uninstall Ubuntu
If you realize Ubuntu is not for you, it’s very easy to revert back! There’s actually 2 ways to get rid of Ubuntu. You can either use the terminal or simply press the space bar during the warning screen you get when you boot the Chromebook. This will pretty much wipe your computer clean, so make sure you back up important files.
To uninstall Ubuntu using the terminal, simply press Cntrl + Alt + T, type “Shell” and input the following codes.
cd /usr/local/chroots
sudo delete-chroot *
rm -rf /usr/local/bin